BLOG
Contribute to the Thanksgiving Table This Year with These Easy, Yet Impressive, Recipes
Back to the blog
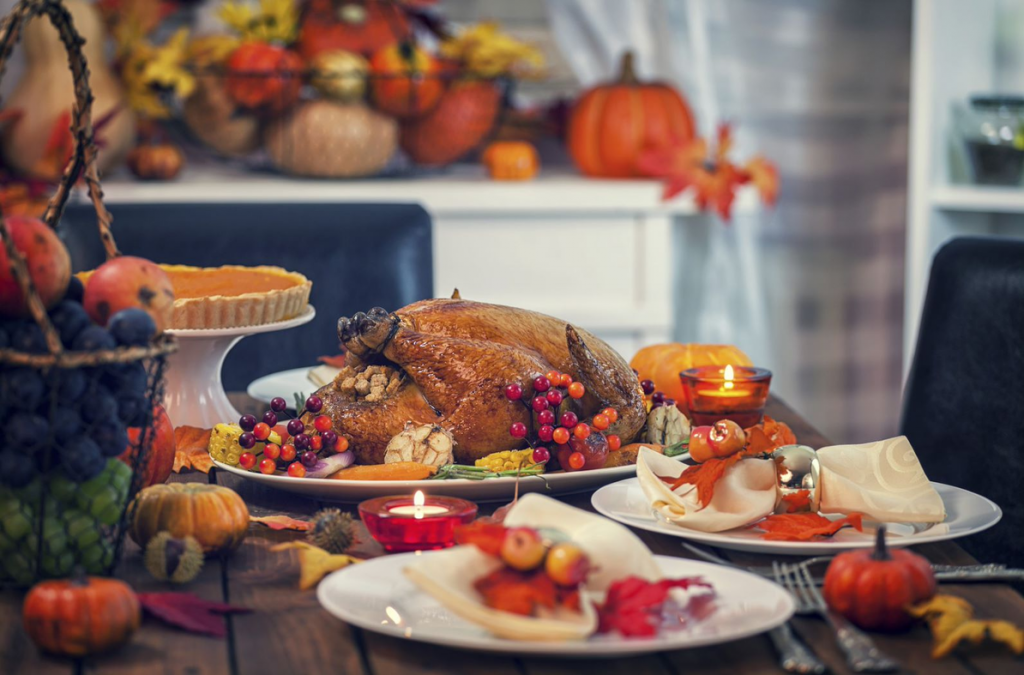
When you’re a teenager, you tend to take advantage of the Thanksgiving spread without a second thought. But, as you age, you start to realize how much work goes into orchestrating holiday get-togethers. After all, someone must roast and carve the turkey, warm the dinner rolls, and pull off the perfect pecan pie – you just overlooked the fact that it was your parents, aunts, uncles, and grandparents doing all the heavy lifting for so many years.
Well, now you’re officially entering adulthood, and you know what that means: it’s time to not only travel back to your hometown for the holiday season, but it’s also your turn to contribute to your fam’s Thanksgiving dinner. While you likely don’t need to worry about the bird, brisket, or ham, it’s probably safe to say that side dishes and desserts are fair game. And, just imagine how impressed your folks will be when you turn up to the big feast with something that impresses the pants off everyone there!
So, without further ado, uCribs presents 5 delicious— and totally impressive— recipes guaranteed to rock your Thanksgiving table.
Pumpkin-Baked Mac and Cheese
If you keep up with this blog, then you’re well aware of our devotion to pretty much every pasta dish out there – but, there’s nothing we love more than some good, old-fashioned mac and cheese. When it comes to holiday entertaining, we prefer to lend our mac a bit of seasonal flair by serving it in a pumpkin. While one of the more complex recipes on our list, this Pumpkin-Baked Mac and Cheese packs a punch when it comes to flavor and looks amazing—as in, your family might not believe it came out of your kitchen. Just be prepared to share the recipe with your family members, who will most certainly want to spice up their office potlucks with this bad boy.
Ingredients:
- 1 medium-sized sugar pumpkin (don’t buy one meant for carving!)
- 4 cups elbow macaroni pasta
- 6 tablespoons salted butter
- 6 tablespoons all-purpose flour
- ½ teaspoon dry mustard
- Large pinch of ground cayenne pepper
- 2 dashes Worcestershire sauce
- 4 cups whole milk, heated
- 4 cups cheddar cheese, grated
- 4 cups sharp cheddar cheese, grated
- 1 cup bread crumbs
- Cooking spray (for baking the pumpkin)
Directions:
- Preheat oven to 375 degrees.
- Place the pumpkin on a baking pan that has been prepared with cooking spray. (A casserole dish will also work well, since it can catch any juice that leaks out while baking!)
- In preparation for baking, you’ll need to stabilize the pumpkin so that it doesn’t tip over while cooking. Cut a small slice off of the bottom to create a smooth, even surface. Remove small bits of the skin until the pumpkin sits upright on its own.
- Once you have a stable bottom, carve the top of the pumpkin and remove the stem before scraping out the seeds and strings.
- Pop the pumpkin into the oven and let it cook for about 45 minutes. It’s ready to take out, once you’re able to easily pierce it with a fork.
- While the pumpkin is baking, boil the macaroni until tender, drain, and set aside.
- Now, you’ll create the base for your cheese sauce. Melt butter in a large saucepan over medium heat. Sprinkle the flour into the butter and stir constantly, until you have a thick, smooth paste. This will take about 5 minutes.
- Add the mustard, pepper, and Worcestershire sauce. Then, stir in the milk. Continue stirring until all ingredients are evenly combined. Return the mixture to a simmer.
- Once the base for your mac and cheese is bubbling a bit, reduce heat to low, and add 7 cups of cheese – leaving one cup for later. Add the macaroni and stir until the cheese sauce evenly coats the pasta.
- Spoon the mac and cheese into the pumpkin. Top with remaining cheese and bread crumbs. Replace the top of the pumpkin, so that the mac is covered while it bakes.
- Put the pumpkin mac and cheese – still in its casserole dish or baking pan – back in the oven and cook for about 30 minutes, or until the macaroni is heated through and the cheese has melted. Let sit for about 10 minutes before serving.
Kale and Apple Salad
Admittedly, most of us don’t get too excited at the sight of a salad on the Thanksgiving table. With so many cheesy, creamy, and carb-y things to try, why would anyone ever take a second look at a boring plate of greens? Well, with all due respect to your taste buds, this recipe will make you rethink your anti-salad stance this Thanksgiving. Crisp apples, savory blue cheese, candied walnuts, and tart balsamic vinaigrette come together for a flavorful combination that hits several different flavor profiles. With its invigorating taste, you might find that the Kale and Apple Salad is perfect for freshening your palate before the main staples of your meal.
Ingredients:
For the salad:
- 16 ounces torn kale leaves
- 2 apples (choose any variety you like)
- 4 tablespoons crumbled blue cheese
- Balsamic vinaigrette dressing
- Candied walnuts (see ingredients below)
For the candied walnuts:
- 1 cup walnuts, chopped
- 1 tablespoon butter
- 4 tablespoons brown sugar
- A pinch of salt
- Parchment paper, for cooling
Directions:
- First, make the candied walnuts. Add the butter, brown sugar, and salt to a small skillet. Warm over medium heat, until the brown sugar begins to melt.
- Add the chopped walnuts to the pan and stir to coat the nuts with the brown sugar mixture. Continue to cook the walnuts for about 10 minutes, or until the brown sugar fully melts and forms a nice glaze. Feel free to taste test along the way!
- Remove the walnuts from the skillet and scatter across a piece of parchment paper to cool. While you’re waiting for the walnuts to cool, proceed with the rest of the salad.
- Add the torn kale leaves to a large bowl. Massage the greens with about 2 tablespoons of the balsamic vinaigrette until the leaves have softened and wilted to half their original size.
- Core the two apples and proceed to dice them into small, bite-sized pieces. You can also thinly slice them for a more visually appealing effect.
- Top the greens with the apples, candied walnuts, and blue cheese. Drizzle a bit of vinaigrette over the top before serving!
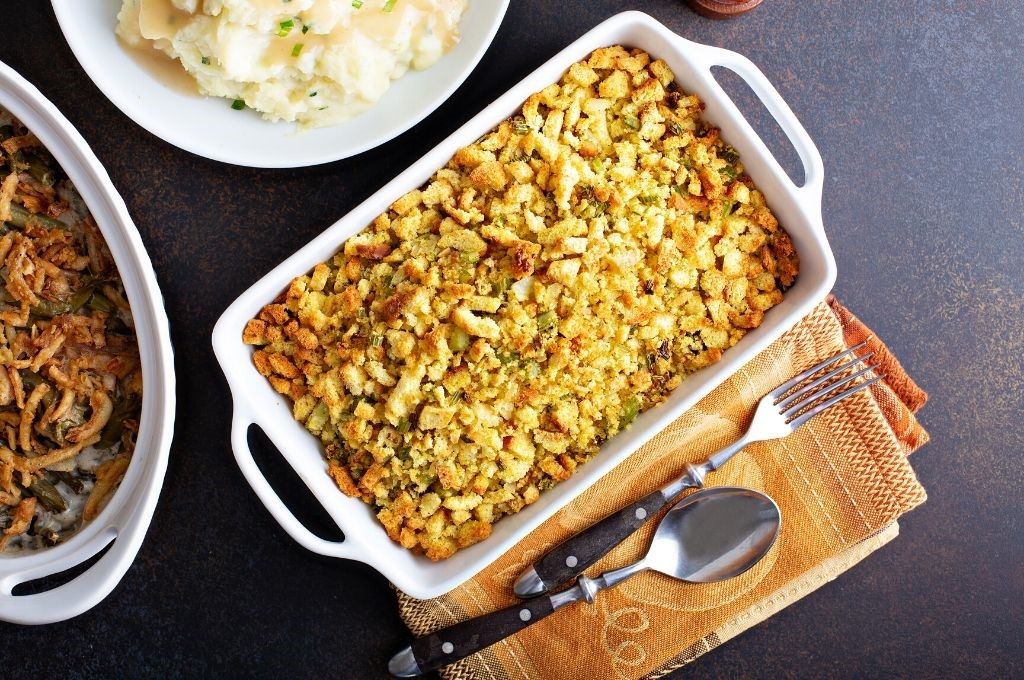
Bacon Stuffing
A perfectly-baked stuffing is one of the holiday dishes that we look forward to all year long. Whether you call it “stuffing” or “dressing,” you have to agree that every variety is delectable – from cornbread to sausage and even oyster. So, it only makes sense that this Bacon Stuffing recipe is also a winner. Featuring a whole pound of gold-grade, diced bacon, you can bet that this take on the Thanksgiving standby will become a regular addition to your family’s table from now on. Plus, with only 6 ingredients, this stuffing recipe is super easy for a busy college student like yourself to throw together—and not to mention, very affordable.
Ingredients:
- 1 pound of gold-grade bacon, diced
- 1 sweet onion, chopped
- 2 stalks celery, chopped
- 14 ounces herb-seasoned stuffing mix
- 10 ounce can cream of chicken soup
- 10 ounces chicken stock
Directions:
- Preheat the oven to 350 degrees.
- While you’re waiting for the oven to heat, cook the diced bacon over medium heat. Stir often, until the bacon is cooked thoroughly and has a crispy texture.
- Add the onion and celery to the pan with the bacon and drippings. Continue cooking for about 5 minutes, or until the vegetables have softened.
- In a separate bowl, add the dry stuffing mix. Pour the bacon and vegetable mixture over the stuffing – this includes the drippings, too!
- Mix in the chicken stock and cream of chicken soup. Stir well to combine everything together.
- Transfer the stuffing mixture to a casserole dish measuring approximately 9×13 inches. Spread evenly and cover with foil.
- Bake the covered stuffing for 20 minutes in the oven.
- Once 20 minutes have passed, remove the foil and continue baking for 10 extra minutes. Serve with a side of cranberry sauce, if you’d like.
Sweet Potato Casserole
Everyone knows that Thanksgiving isn’t complete without a heaping helping of everyone’s favorite, Sweet Potato Casserole. What you may not know, however, is how easy it is to create a version of this Thanksgiving classic that will have your grandma swearing it is an exact replica of her recipe. All you have to do is properly roast the yams, mix them with a few ingredients, and pop everything in the oven for 20 minutes. Just don’t forget the delicious topping! Chopped pecans, crushed cornflakes, and fluffy marshmallows are the perfect finishing touch to this crowd-pleaser, which makes for even better leftovers the next day.
Ingredients:
For the casserole:
- 3 pounds sweet potatoes
- ¼ cup unsalted butter, at room temperature
- ¼ cup sugar
- ¼ cup milk
- 1 large egg
- ½ teaspoon vanilla extract
- ¼ teaspoon salt (add more to taste)
- Parchment paper, for baking potatoes
For the topping:
- 1 ¼ cups cornflake cereal, crushed
- 1/3 cup chopped pecans
- 1 tablespoon brown sugar
- 1 tablespoon unsalted butter, melted
- 1 cup miniature marshmallows
Directions:
- Preheat the oven to 400 degrees. Line a baking sheet with parchment paper and set aside.
- Place the potatoes on the prepared baking sheet. Once the oven is heated, bake the potatoes until you can easily pierce with a fork. This will take about an hour.
- Let the potatoes cool completely before peeling. Set aside cooked and peeled potatoes.
- Reduce oven temperature to 350 degrees. Prepare your casserole dish with oil or nonstick spray. A 9-inch pie plate or something similar works well.
- Make the casserole topping. Combine cornflakes, pecans, and brown sugar with the melted butter. Stir well until everything is evenly coated and set aside.
- Now, prepare the casserole filling. Use an electric mixer or large spoon to beat the cooked sweet potatoes, butter, sugar, milk, eggs, vanilla, and salt until all ingredients are well combined and smooth.
- Spoon the casserole filling into the prepared baking dish. Sprinkle the cornflake topping around the edges of the dish. Leave some room in the center of the dish for the marshmallows, which will be added later.
- Bake the casserole for 20 minutes, or until the cornflake topping is golden brown. Remove the dish and sprinkle marshmallows in the center of the dish.
- Place back in the oven and continue cooking for 5 minutes, or until the marshmallows have started to melt and brown on top. Serve piping hot.
Pumpkin Cream Pie
Light and fluffy whipped cream and decadent pumpkin come together for one unforgettable – and totally easy – Thanksgiving dessert! If you love all things pumpkin but hate how rich most pumpkin pies are, then you’ll love this variation. Yep, this recipe for Pumpkin Cream Pie tastes lighter than your standard pumpkin pie, thanks to the whipped topping. Better yet, it still maintains the classic, seasonal flavor that’s inherent of this traditional Thanksgiving dish. Our tip for this recipe? Don’t skip out on making your own whipped cream topping. Trust us – the homemade version tastes sooo much better than anything store-bought and will really take an otherwise standard pie to the next level.
Ingredients:
For the pie:
- 4 ounces cream cheese, at room temperature
- 1 15-ounce can of pumpkin puree
- 1/3 cup heavy whipping cream
- 1/3 cup light brown sugar
- 1 teaspoon pumpkin pie spice
- 3 large eggs
- 1 9-inch frozen pie crust
For the whipped cream topping:
- 1 cup heavy whipping cream
- 3 tablespoons brown sugar
- ½ teaspoon pumpkin pie spice
Directions:
- Preheat the oven to 375 degrees.
- In a bowl, combine the cream cheese, pumpkin, whipping cream, brown sugar, and pumpkin pie spice. Using an electric mixer or a good mixing spoon, add one egg at a time, mixing each thoroughly until you have a thick, smooth mixture.
- Pour the filling into the pie shell and bake until the filling is mostly set – about 50 to 60 minutes. The center should be slightly wobbly when you remove from the oven, and that’s okay!
- Once it’s out of the oven, let it cool to room temperature.
- Now, proceed to create the whipped cream topping. Start by beating the heavy cream until it starts to thicken.
- Add the brown sugar and pumpkin pie spice, then continue to stir until everything is evenly distributed and “soft peaks” start to form. When you lift your spoon or electric mixer, the whipped cream should hold its shape slightly, forming a small peak.
- Spread the whipped cream topping over the cooled pie and serve immediately. Or, if you’re serving it later, cover the pie and place in the refrigerator for up to two hours.
Share this article: